
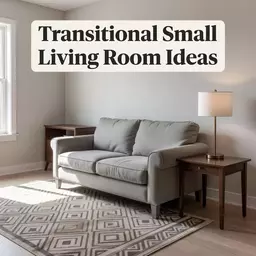
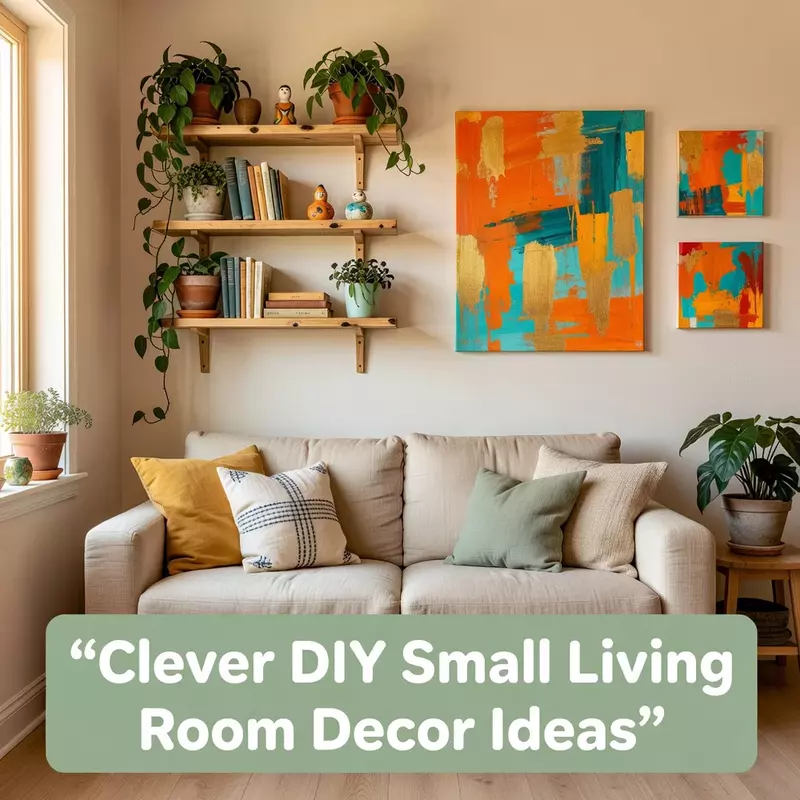
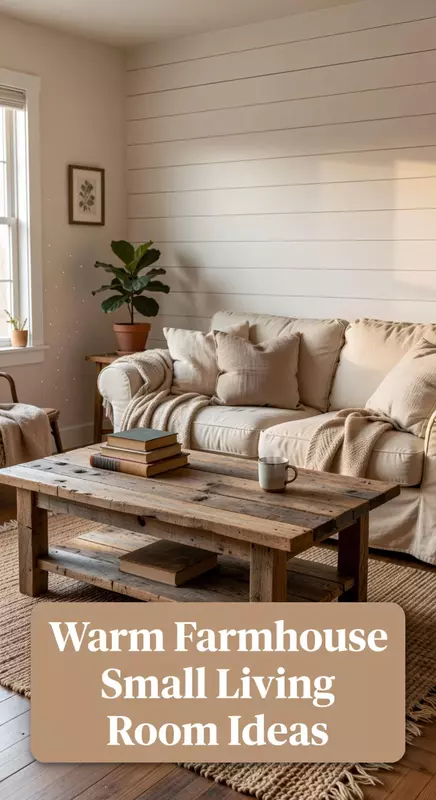
Struggling to make your tiny living room feel stylish and functional? With the rising need for creative decor solutions, transforming your space doesn’t have to be overwhelming. Discover 7 clever DIY projects that will make your small living room look designer without breaking the bank.
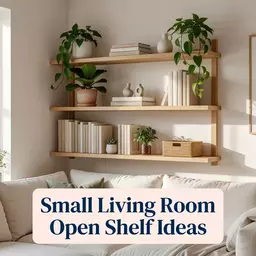
Small Living Room DIY Floating Shelf With Pipe Brackets That Adds Storage for Under $25
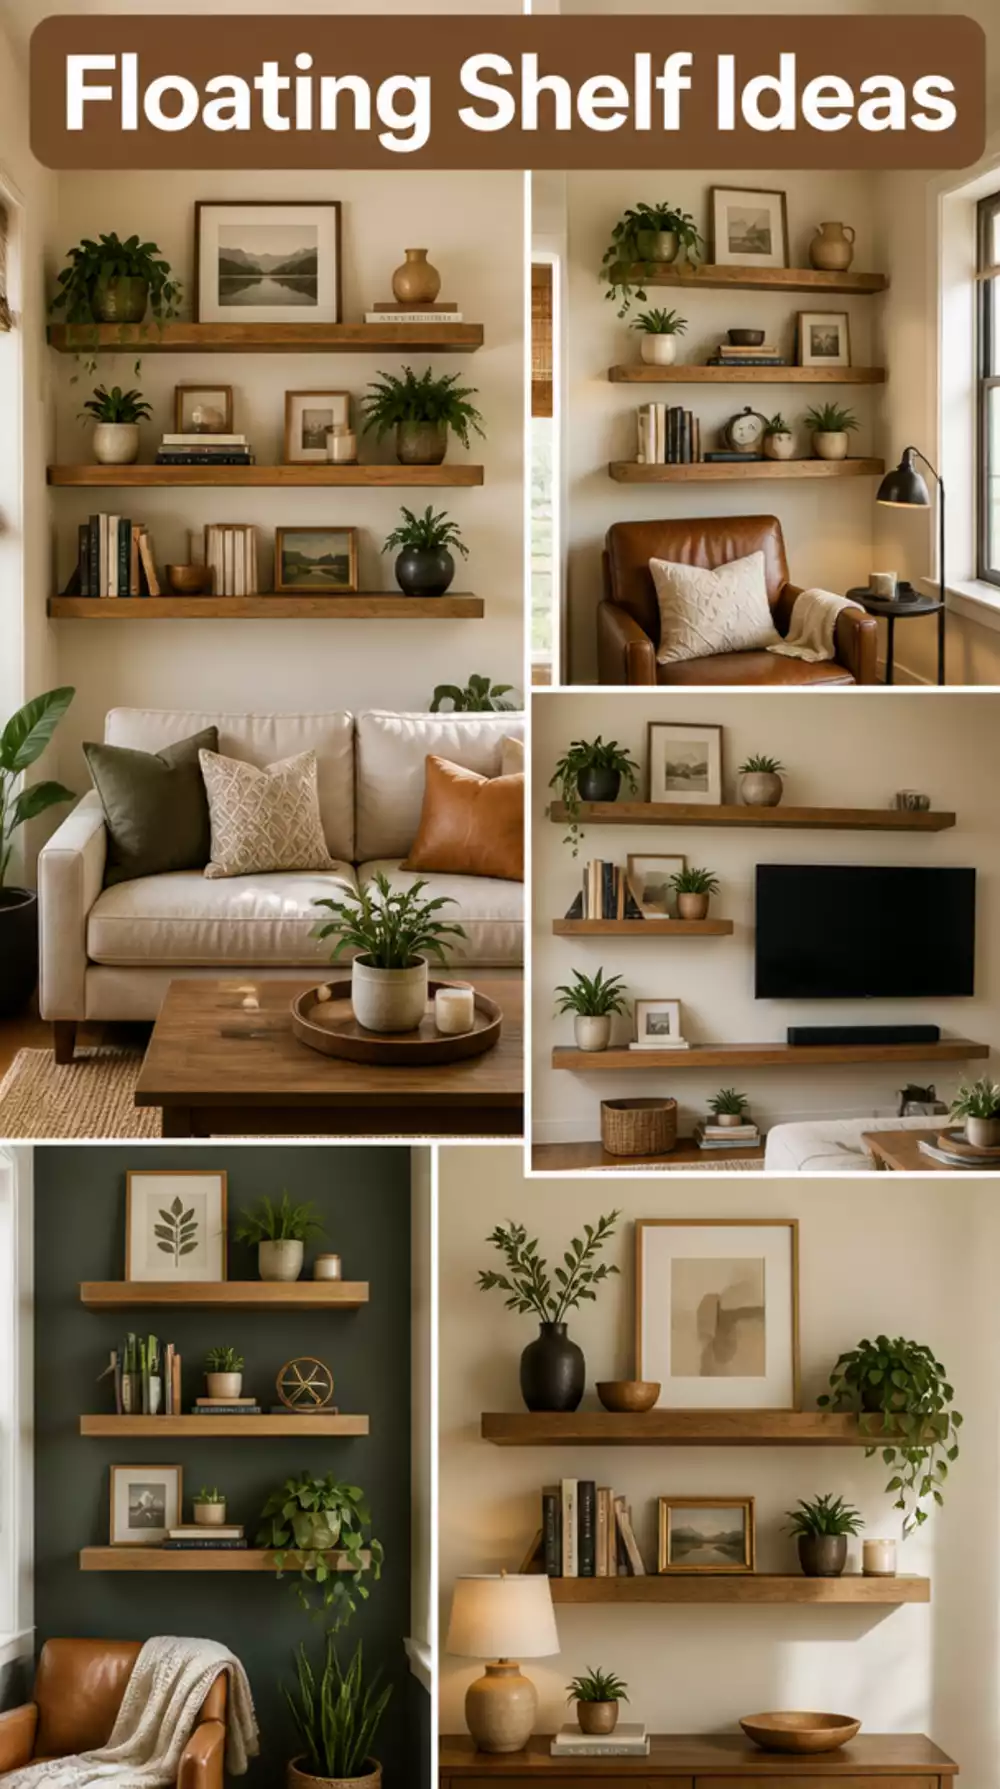
Elevate your small living room with chic and functional floating shelves.
As an Amazon Associate I earn from qualifying purchases. Affiliate links may earn me a commission at no extra cost to you.
Why Floating Shelves Matter: Maximizing vertical space can transform small living rooms into organized and stylish havens. Floating shelves not only provide essential storage but also add an aesthetic element by showcasing decor. Perfect for books, plants, or personal items, they help create a tailored look.
One common oversight when adding floating shelves is not balancing their weight properly. For instance, if you load one shelf heavily on one side, it can tilt or even fall. Instead, distribute items evenly, and consider the shelf height—ideally around eye level for easy visibility!
- ★Install shelves at a height that allows for easy access and visibility.
- ★Incorporate decorative elements like plants and art to personalize your shelves.
- ★Avoid overcrowding shelves; less is often more for a chic look.
⭐ Top Products for Small Living Room Shelves
✨ Editor's Pick
Rustic Wood Floating Shelves for Storage
★★★★½
Our Score: 4.5/5
These rustic floating shelves are perfect for maximizing storage and adding style to your small living space.
View on Amazon →Mini Floating Wall Shelf Set of 3
★★★★☆
Our Score: 4.0/5
This compact shelf set is ideal for displaying small items in tight spaces, enhancing your decor.
View on Amazon →Rustic Corner Shelf Organizer Set of 2
★★★★☆
Our Score: 4.0/5
The corner shelf organizer beautifully utilizes corner spaces while providing stylish storage.
View on Amazon →💡 Quick Tips:
- Choose the right height: Install shelves at eye level for easy access and visibility.
- Balance your decor: Distribute items evenly on the shelves to maintain stability and style.
- Mix and match: Use a variety of items like books and plants to create a personalized aesthetic.
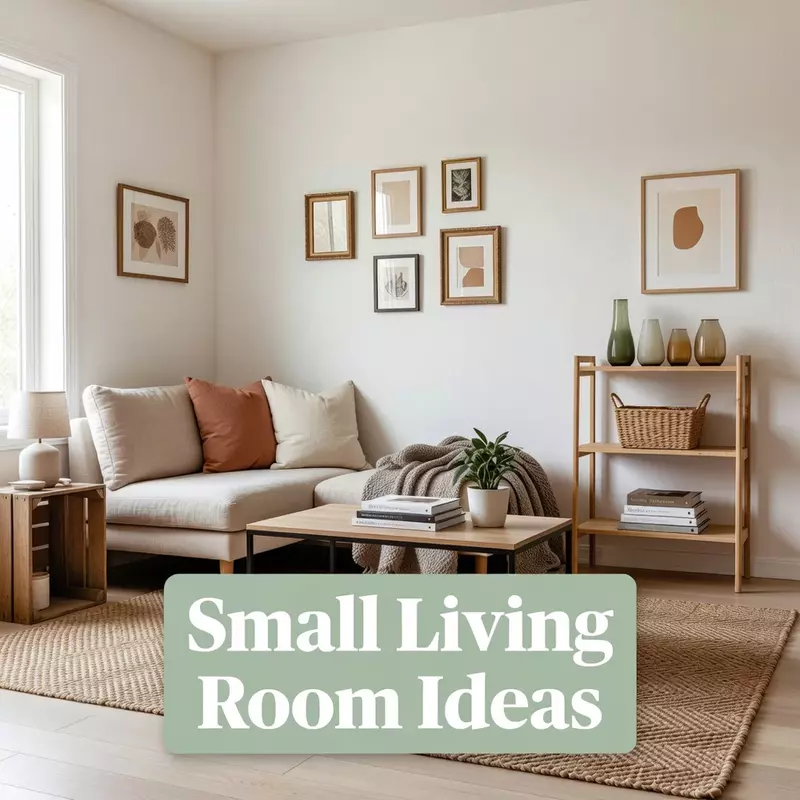
Living Room DIY Gallery Wall Using Clip Frames and Printed Art in a Small Compact Space
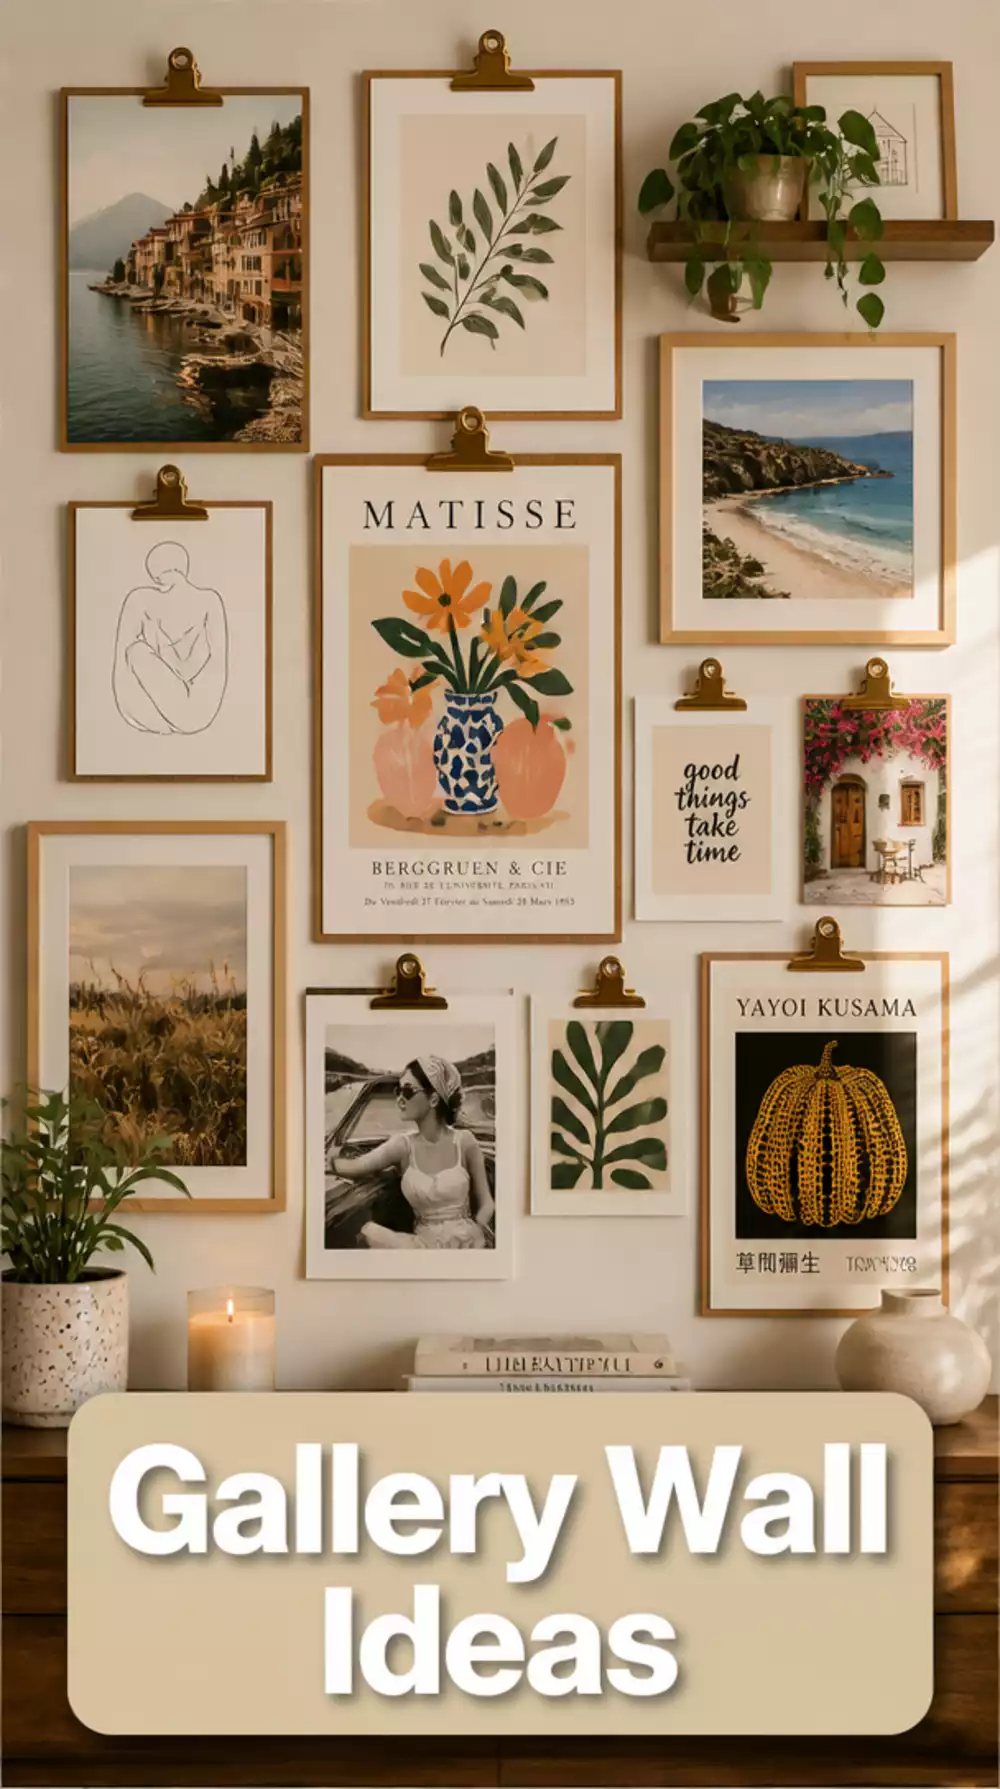
Transform your small living room with a personalized gallery wall!
Understanding Gallery Walls: A gallery wall is a curated display of art that adds visual interest and personality to your space. It helps utilize vertical space while showcasing your unique style. Using clip frames allows for easy swapping of art, making it a flexible and budget-friendly decor solution.
One detail that often gets overlooked is the layout planning. Many rush to hang their frames without a solid plan, leading to a cluttered appearance. Instead, use painter's tape on the floor to outline your intended arrangement before actually hanging anything. This simple technique can help achieve a balanced and visually appealing setup.
- ★Mix different sizes of clip frames for an eclectic look.
- ★Use vibrant art prints like the Colorful Eclectic Art Poster Set to add personality.
- ★Avoid overcrowding; leave some wall space visible to maintain an airy feel.
⭐ Top Products for Living Room Gallery Walls
Set of 10 Elegant Picture Frames
★★★★☆
Our Score: 4.0/5
These durable frames let you display your cherished memories beautifully, perfect for a gallery wall.
View on Amazon →✨ Editor's Pick
Colorful Eclectic Art Poster Set
★★★★½
Our Score: 4.5/5
This vibrant art set adds personality and charm to your gallery wall effortlessly.
View on Amazon →Framed Vintage Landscape Art Set
★★★★☆
Our Score: 4.0/5
This three-piece set adds a rustic touch, enhancing the character of your decor.
View on Amazon →💡 Quick Tips:
- Plan Layout: Use painter's tape on the floor to map out your gallery wall before hanging frames.
- Mix Frame Styles: Combine different sizes and colors of clip frames for an eclectic vibe.
- Leave Breathing Room: Remember to leave some wall space visible for an airy and balanced look.
Small Living Room DIY Rope Plant Hanger That Adds a Boho Touch to a Tiny Window Corner
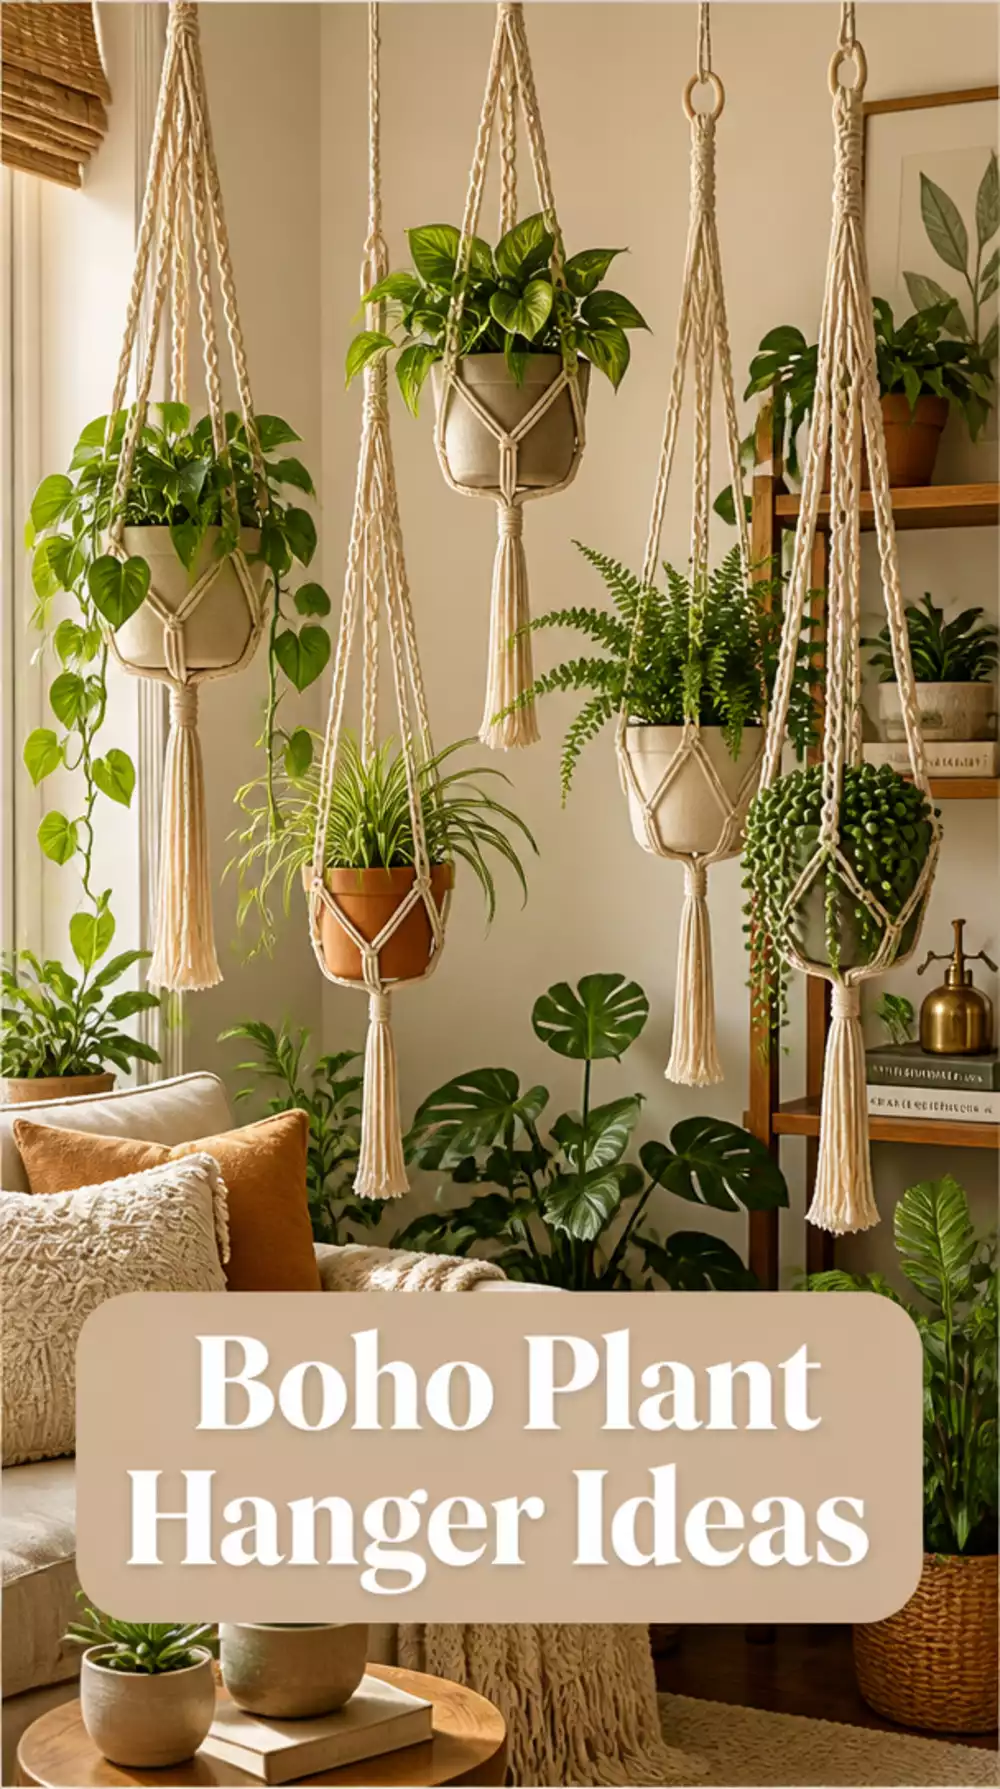
Transform your small space with stylish plant hangers.
Why DIY Rope Plant Hangers Matter: Bringing the outdoors in can completely transform your tiny living space, and rope plant hangers are an excellent way to do just that. Not only do they save valuable floor space, but they also create a lush, bohemian vibe that can make your room feel airier and more inviting. Choose low-maintenance plants like pothos or ferns to keep your setup beautiful and manageable.
Where Most People Get Stuck is in overloading their hangers with heavy pots. It's easy to forget that not all plants thrive in a hanging situation, leading to droopy or damaged plants. For instance, opting for lightweight planters ensures your plants can flourish without the stress of excess weight.
- ★Opt for lightweight, low-maintenance plants like pothos or spider plants for hanging.
- ★Consider adjustable macrame hangers to vary plant heights and create depth.
- ★Avoid overcrowding your window with too many plants; it can block light.
⭐ Top Products for Boho Plant Hangers
✨ Editor's Pick
Set of 5 Macrame Plant Hangers
★★★★½
Our Score: 4.5/5
These stylish macrame hangers beautifully showcase your indoor plants while saving floor space.
View on Amazon →Set of 4 Macrame Plant Hangers
★★★★☆
Our Score: 4.0/5
Quality jute hangers that effortlessly elevate your indoor plant decor with ease.
View on Amazon →Window Plant Shelf for Indoor Use
★★★★☆
Our Score: 4.0/5
Maximize window space and add decorative flair with this easy-to-install shelf.
View on Amazon →💡 Quick Tips:
- Choose lightweight planters: Opt for materials like ceramic or plastic to minimize weight.
- Hang at varying heights: Create visual interest by suspending plants at different levels.
- Ensure proper light: Position your hangers where plants can receive adequate sunlight for healthy growth.
Living Room DIY Painted Terracotta Pot Grouping That Dresses a Small Coffee Table for Nothing
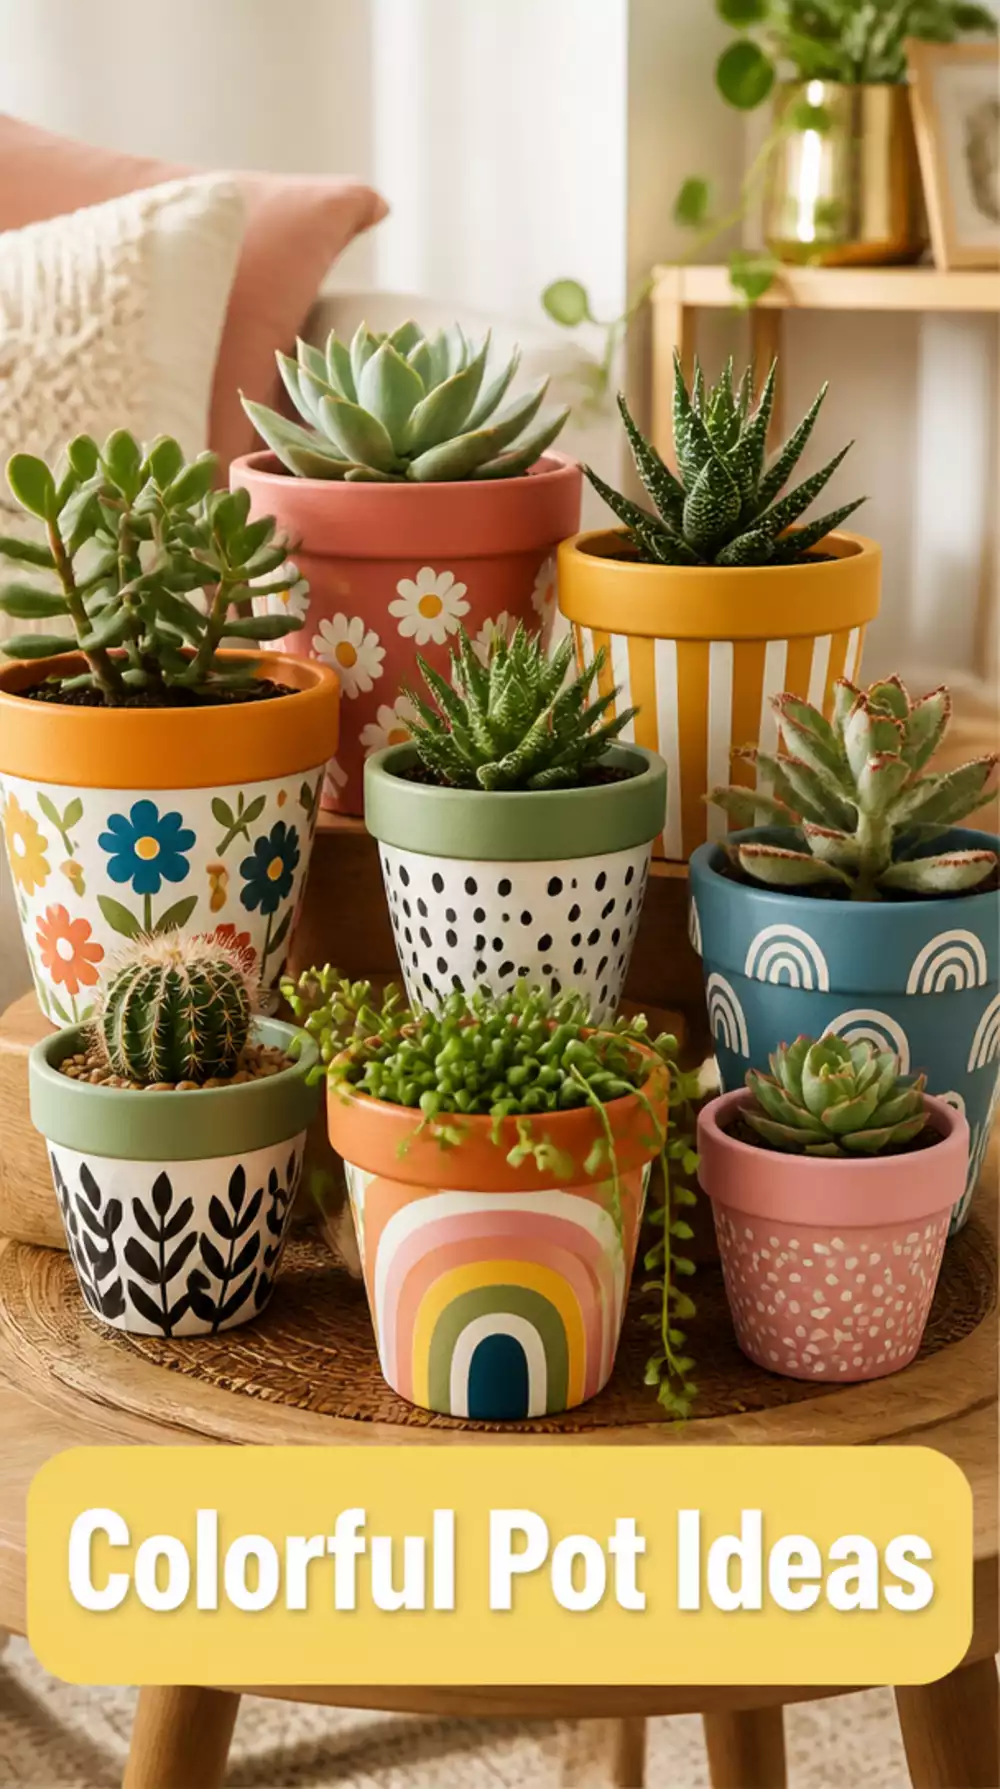
Add a playful touch to your coffee table with DIY terracotta pots!
How Painted Terracotta Pots Enhance Your Decor: Looking to add color and character to your coffee table without breaking the bank? Painted terracotta pots are an affordable and customizable decor element. Grouping different sizes and colors creates a cohesive look that can liven up any small space, making it feel inviting and personal.
One detail often overlooked is the choice of paint colors. For example, selecting shades that match your existing decor can tie the room together. Many people tend to ignore how the arrangement of these pots influences the overall aesthetic; a staggered display can create visual interest while maintaining balance.
- ★Select outdoor-safe paint for durability and longevity.
- ★Experiment with different patterns and designs to showcase your creativity.
- ★Avoid overcrowding the table; leave space for other decorative pieces.
⭐ Top Products for Decorative Plant Pots
✨ Editor's Pick
Colorful Face Planter for Indoor Plants
★★★★☆
Our Score: 4.0/5
This unique face planter adds charm and a whimsical touch to your decor.
View on Amazon →Funny Face Planter for Indoor Decor
★★★★☆
Our Score: 4.0/5
Bring personality to your space with this fun and vibrant planter.
View on Amazon →Set of 6 Terracotta Plant Pots
★★★★☆
Our Score: 4.0/5
These classic pots are perfect for succulents and easy to personalize.
View on Amazon →💡 Quick Tips:
- Select a color palette: Choose colors that match your room's existing decor for a cohesive look.
- Vary pot sizes: Group pots of different sizes to create visual interest on the coffee table.
- Let creativity flow: Use stencils or painter's tape for fun patterns and designs on your pots.
You’re doing great! Diving into DIY projects for your small living room can feel like a lot, but every thoughtful decision makes a real difference. Embracing a creative approach, rather than seeking perfection, often leads to the most satisfying results for your compact space. Just keep moving forward, one inspired idea at a time.
💡 Simple Reminders:
- Consider ways to maximize vertical space to keep floors clear.
- Prioritize cozy vibes that truly reflect your personal style.
- Functionality is key in tiny apartments; plan for dual-purpose items.
- Small living rooms thrive with airy spaces and clever color choices.
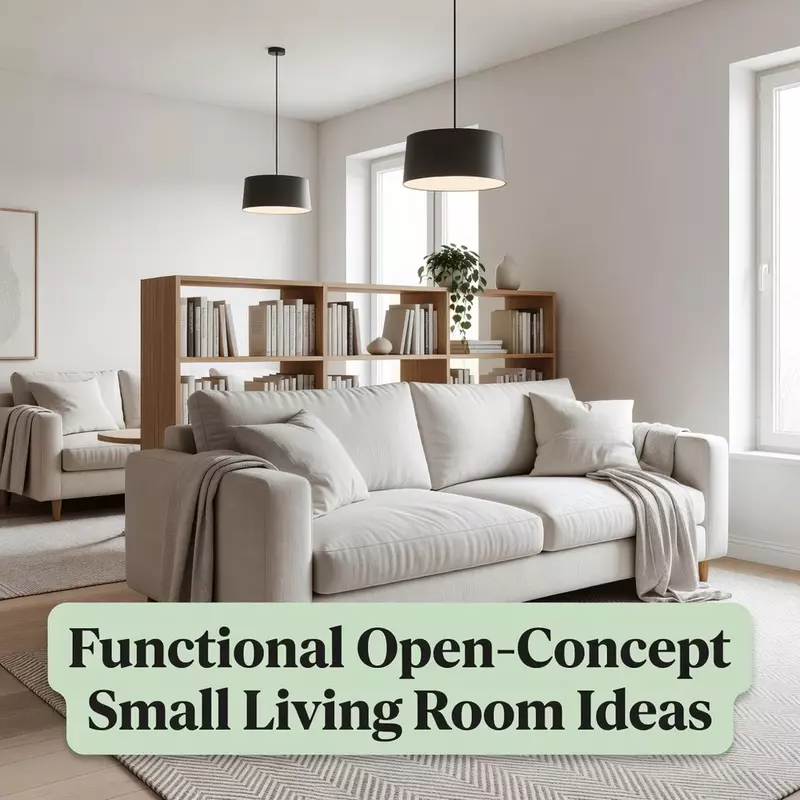
Small Living Room DIY Peg Rail Along One Wall That Solves Clutter in a Tiny Apartment

Transform clutter into style with a functional peg rail.
Why Adding a Peg Rail to Your Living Room Matters: Tackling clutter in a small living room can feel overwhelming. A peg rail offers a versatile solution to organize everything from coats to bags while enhancing your decor. Position it along a wall, and you’ll free up valuable floor space while keeping essentials within reach.
What People Rarely Consider is the importance of spacing your pegs correctly. If they’re too close together, you risk overcrowding the rail and making it difficult to access items. For instance, if you plan to hang a mix of bags and coats, leave at least 6-8 inches between pegs to ensure everything hangs neatly and is easy to grab.
- ★Install the peg rail about 5-6 feet from the floor for easy access to items.
- ★Mix decorative items with functional pieces for an aesthetically pleasing look.
- ★Avoid overcrowding by limiting the number of items on the rail to maintain visual balance.
⭐ Top Products for Entryway Coat Racks
✨ Editor's Pick
Freestanding Coat Rack with 8 Hooks
★★★★½
Our Score: 4.5/5
This versatile coat rack helps organize your entryway while saving valuable floor space.
View on Amazon →Wooden Coat Rack with 8 Hooks
★★★★☆
Our Score: 4.0/5
This wooden coat rack adds a classic touch while efficiently organizing your belongings.
View on Amazon →Modern Metal Coat Rack Stand
★★★★☆
Our Score: 4.0/5
This metal coat rack provides a modern look while keeping your entryway tidy.
View on Amazon →🚀 Quick Tips:
- Choose your peg spacing wisely: Leave 6-8 inches between pegs for accessibility.
- Mix items creatively: Combine functional items with decorative pieces for added flair.
- Limit the number of items: Avoid overcrowding to keep the rail visually balanced and tidy.
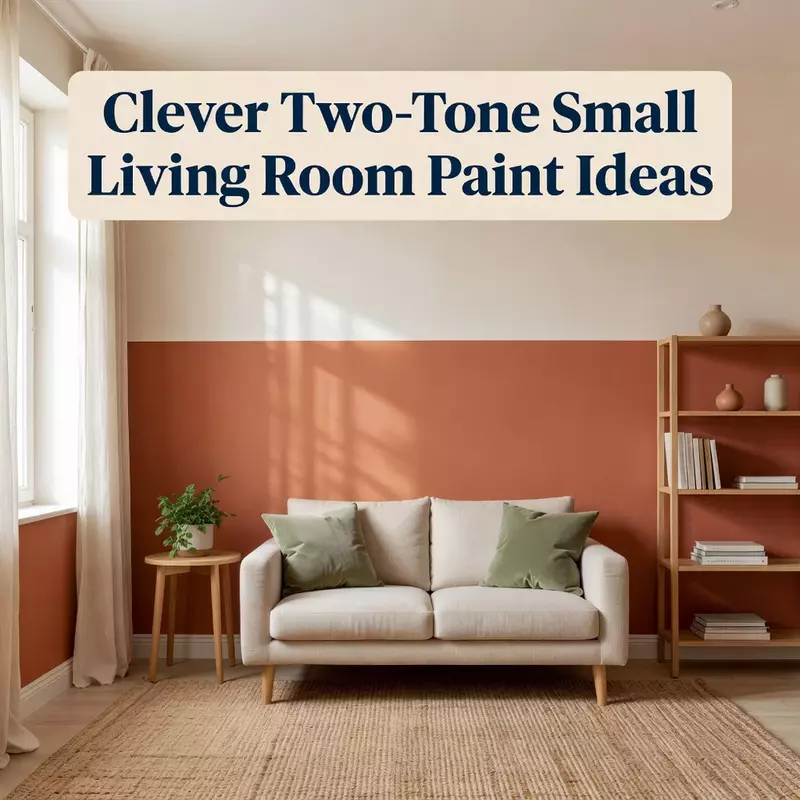
Living Room DIY Limewash Paint Finish on a Small Accent Wall That Looks Like a Pro Job

Transform your small living room with a stunning DIY limewash finish.
Why a Limewash Paint Finish Matters: Limewash paint offers a unique, textured appearance that enhances any small accent wall, ensuring it stands out without overwhelming the space. Its breathable nature and eco-friendliness also make it a perfect choice for interiors, creating a warm and inviting atmosphere.
What People Rarely Consider: Many DIYers skip the essential step of properly priming their walls before applying limewash. This oversight can lead to uneven finishes and poor adhesion. For instance, applying limewash directly on unprepared surfaces can diminish its beautiful effect, leading to a less polished final look.
- ★Ensure your wall is clean and primed for a smooth limewash application.
- ★Use a good quality roller kit for a professional finish.
- ★Avoid applying too thick a layer to prevent peeling and uneven texture.
⭐ Top Products for DIY Wall Paint Finishes
Glitter Interior Wall Paint
★★★★☆
Our Score: 4.0/5
Create a stunning shimmering finish on your accent wall with this easy-to-apply paint.
View on Amazon →Concrete Wall Paint for Unique Texture
★★★★☆
Our Score: 4.0/5
Transform your walls with a distinctive concrete texture that stands out beautifully.
View on Amazon →✨ Editor's Pick
Wall Paint Repair Roller Kit
★★★★☆
Our Score: 4.0/5
Quickly fix wall stains with this easy-to-use roller kit for a seamless finish.
View on Amazon →💡 Quick Tips:
- Prep Your Wall: Clean and prime the surface properly for the best results.
- Choose Your Color: Opt for lighter shades to make the space feel larger and airier.
- Apply in Thin Layers: Use multiple thin layers to achieve a smooth, textured finish without peeling.
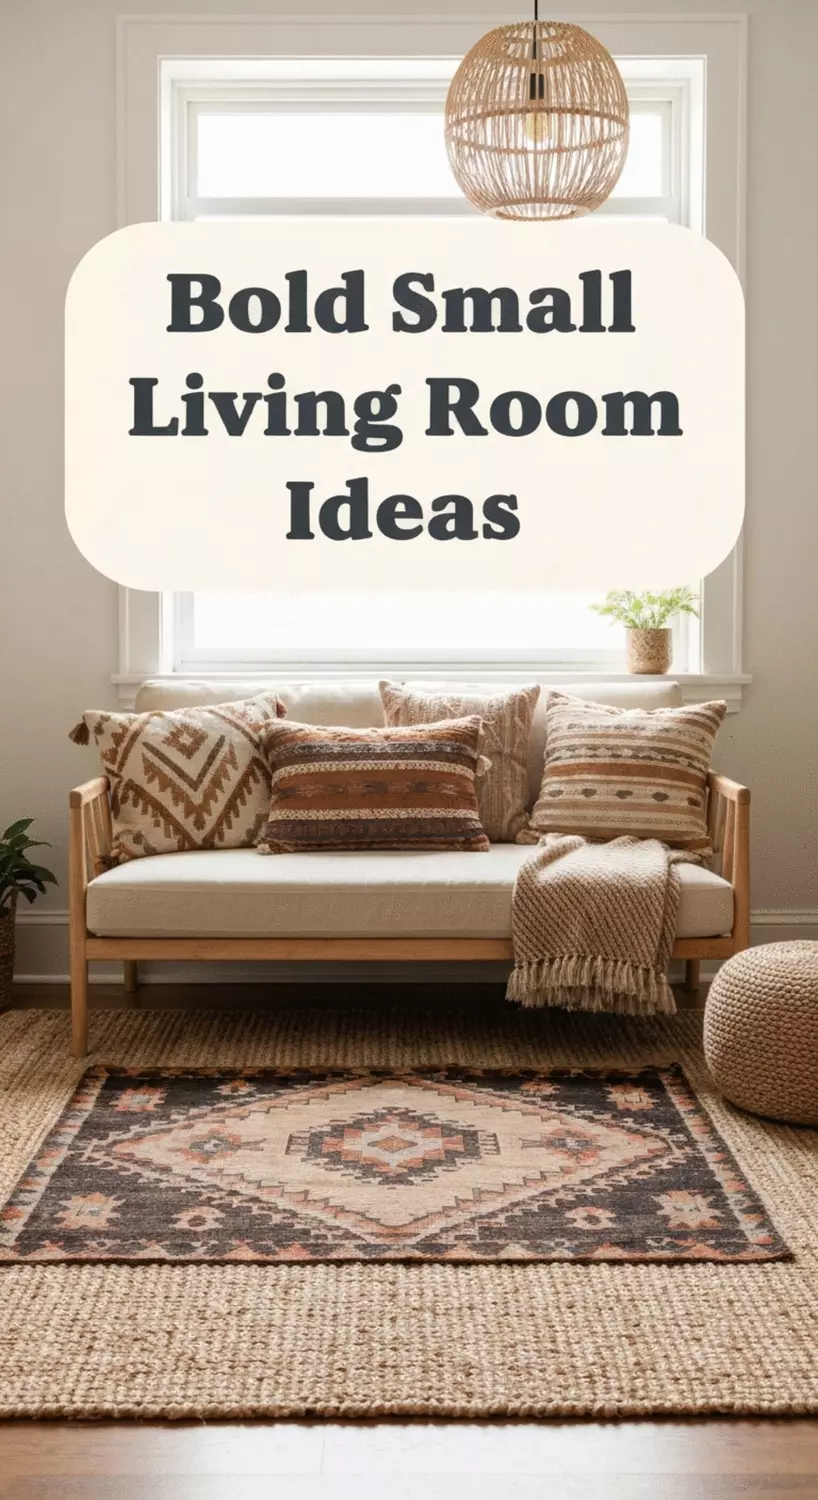
The DIY Small Living Room Upgrade That Costs Under $10 and Fools Everyone Into Thinking Its Expensive
Transform your space without breaking the bank with these clever upgrades.
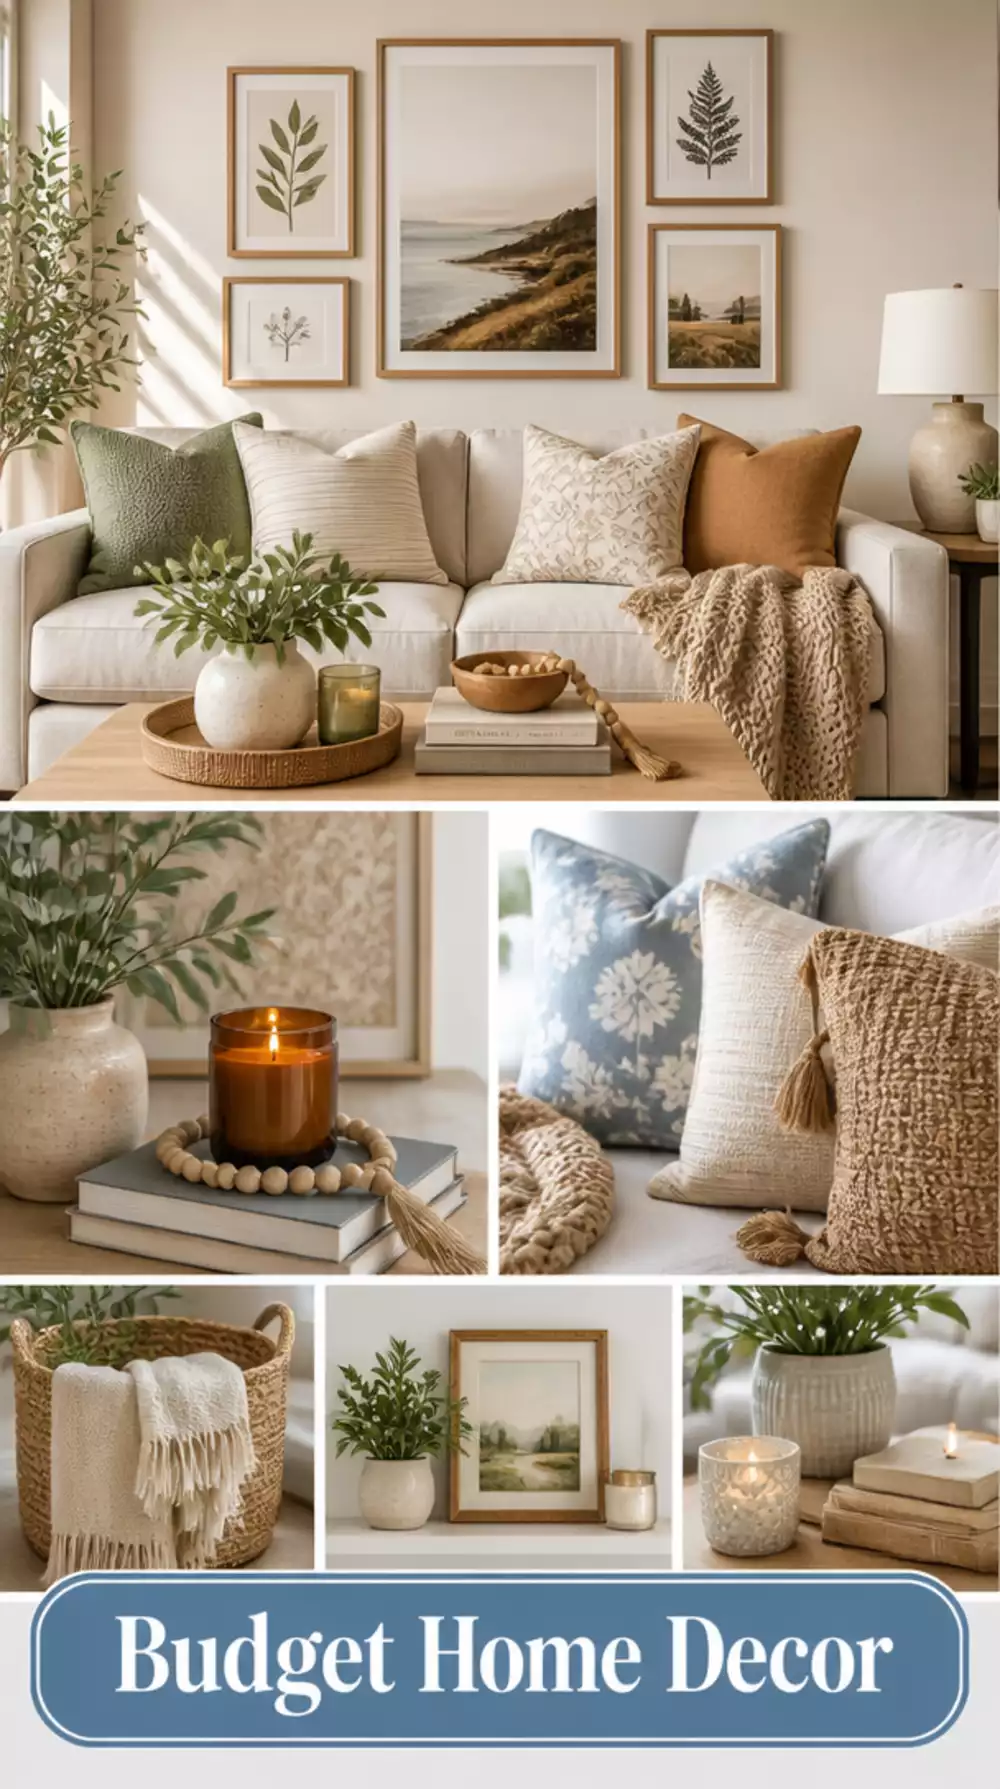
How Creative Upgrades Ignite Your Space: Who says you need to spend a fortune to style your living room? Small, budget-friendly DIY upgrades can make a dramatic impact. Updating hardware, adding decorative accents, or even incorporating thrifted pieces can create a polished look for just a few dollars. These thoughtful touches will *fool everyone* into thinking you splurged.
A common detail that often gets overlooked is the power of simple decorative swaps. For example, changing out standard drawer knobs for unique vintage finds can instantly elevate furniture pieces. Many people miss this quick fix in favor of larger projects, but these subtle updates can truly transform a space!
- ★Try adding a set of stylish wall decor to refresh your space instantly.
- ★Swap out basic pillows for elegant linen covers that elevate your seating area.
- ★Be cautious of overcrowding your decor; a few well-chosen accents go a long way.
⭐ Top Products for Budget-Friendly Home Decor
✨ Editor's Pick
Farmhouse Wall Decor with Sayings
★★★★½
Our Score: 4.5/5
This stylish wall decor enhances your space with interchangeable sayings for every occasion.
View on Amazon →Set of 2 Acrylic Plate Stands
★★★★☆
Our Score: 4.0/5
These clear acrylic stands stylishly display your favorite photos or art on a budget.
View on Amazon →Set of 4 Neutral Linen Pillow Covers
★★★★☆
Our Score: 4.0/5
These elegant linen covers instantly refresh your seating area without overspending.
View on Amazon →💡 Quick Tips:
- Thrift it: Scour local thrift stores for unique pieces that bring charm.
- Update hardware: Swap basic knobs for vintage ones to instantly enhance furniture.
- Mix and match: Use a variety of textures and colors in accents for a sophisticated look.
You now have seven practical ideas to transform your small living room into a stylish haven. Focus on what feels achievable and remember that even the smallest adjustments can lead to significant changes over time.
Your space will feel more inviting and personalized with each thoughtful project you embrace. For more inspiration on enhancing your living area, you might explore additional accent wall ideas that can elevate the ambiance even further.


